Haptic Footwear for Enhancing Independent Travel from Lechal
2016-03-19
First, I should dispense with the disclaimer; I have no connection with Lechal other than being a total geek for all things related to independent travel, especially those things that apply to non-visual travel. Simply put, I paid for the product out of my own funds and this post is entirely my own unabashed and unfiltered opinion. I was fortunate to jump on the band wagon early in the process and was in the first shipment group of products sent to the United States and am therefore participating in the beta version of the app for iOS (it is available for Android on the Google Play store at https://play.google.com/store/apps/details?id=com.ducere.lechalapp, but you need to be connected via the Test Flight app to try the Lechal app on the iOS system, at least for the moment).
The footwear can be ordered in two different forms. The least expensive option is to order the product as insoles (you will be providing your own shoes in this case); you receive a pair of insoles along with the vibro-tactile pods that clip into the bottom of the insoles. The other way Lechal can be order is in the form of shoes with a pod clip on the outside of the shoe, just at the ankle. The shoe option carries a bit higher price so I went with the insole option to start with. Both can be viewed via the Lechal Web site at, http://lechal.com
What Comes in the Box
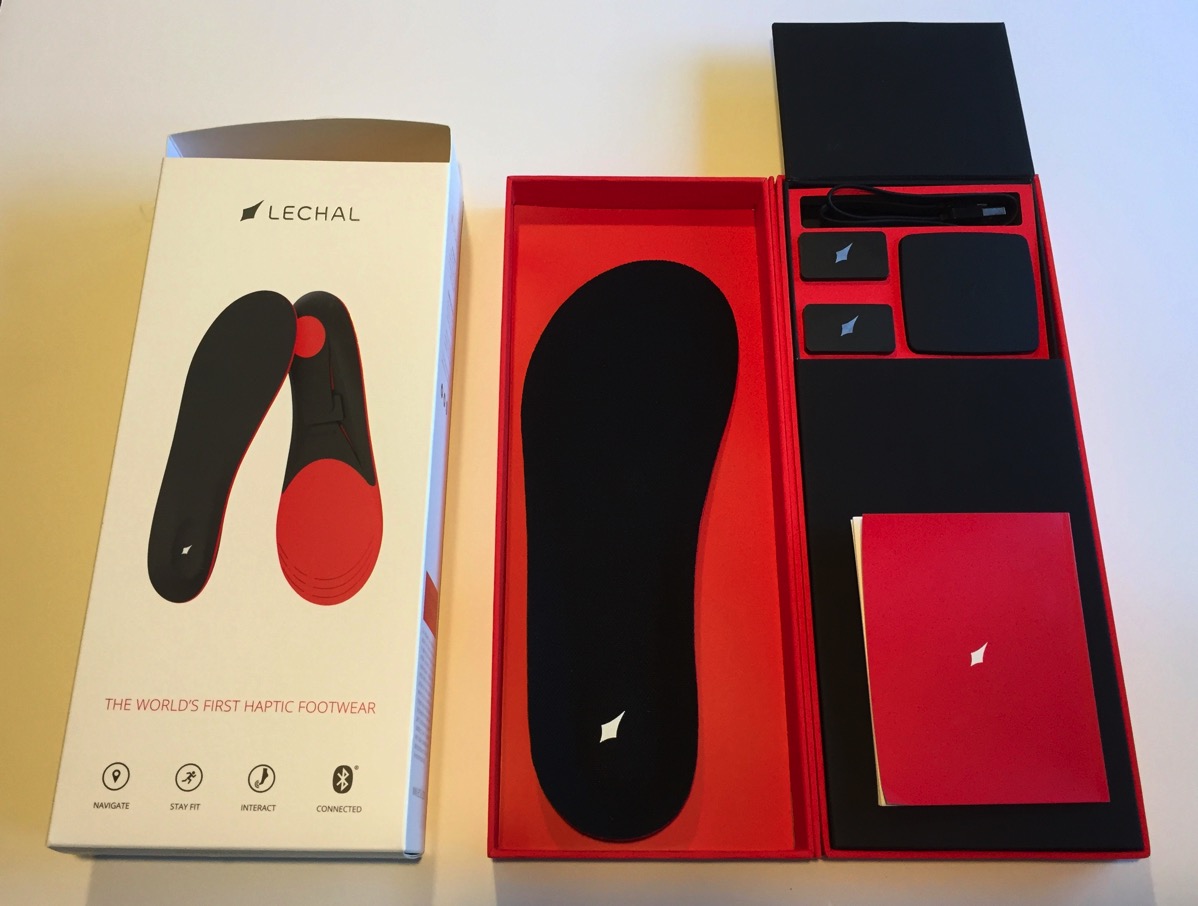
Figure 1, Packaging and enclosed product from Lechal Haptic Footwear, including insole, two pods, instruction pamphlet, USB cord, and pod charger
It seemed to be no easy task to ship the product; it begins its journey from Hyderabad, India. Mine had a multitude of holds and clearance hoops to jump through as it went across India, to Leipzig, Germany, and then through various cities in the United States. The delays likely included rules related to shipping lithium batteries at least that is my impression after receiving many pages of material safety data sheets in the shipping paperwork. When your package does finally arrive, you will find the following items included (if you order the insole option):
- Two insoles, one is obvious as you open the box and the other is below the pod and charger packaging, on the right side of the box
- Two small metal pods that contain the vibration mechanism and bluetooth
- One charger for the pods
- One USB cable to connect the pods to a wall charging adapter or other USB power source (note, it only includes the USB cable)
- One instruction pamphlet (you can also preview the instructions at, http://lechal.com/guide.pdf
Connecting the Pods
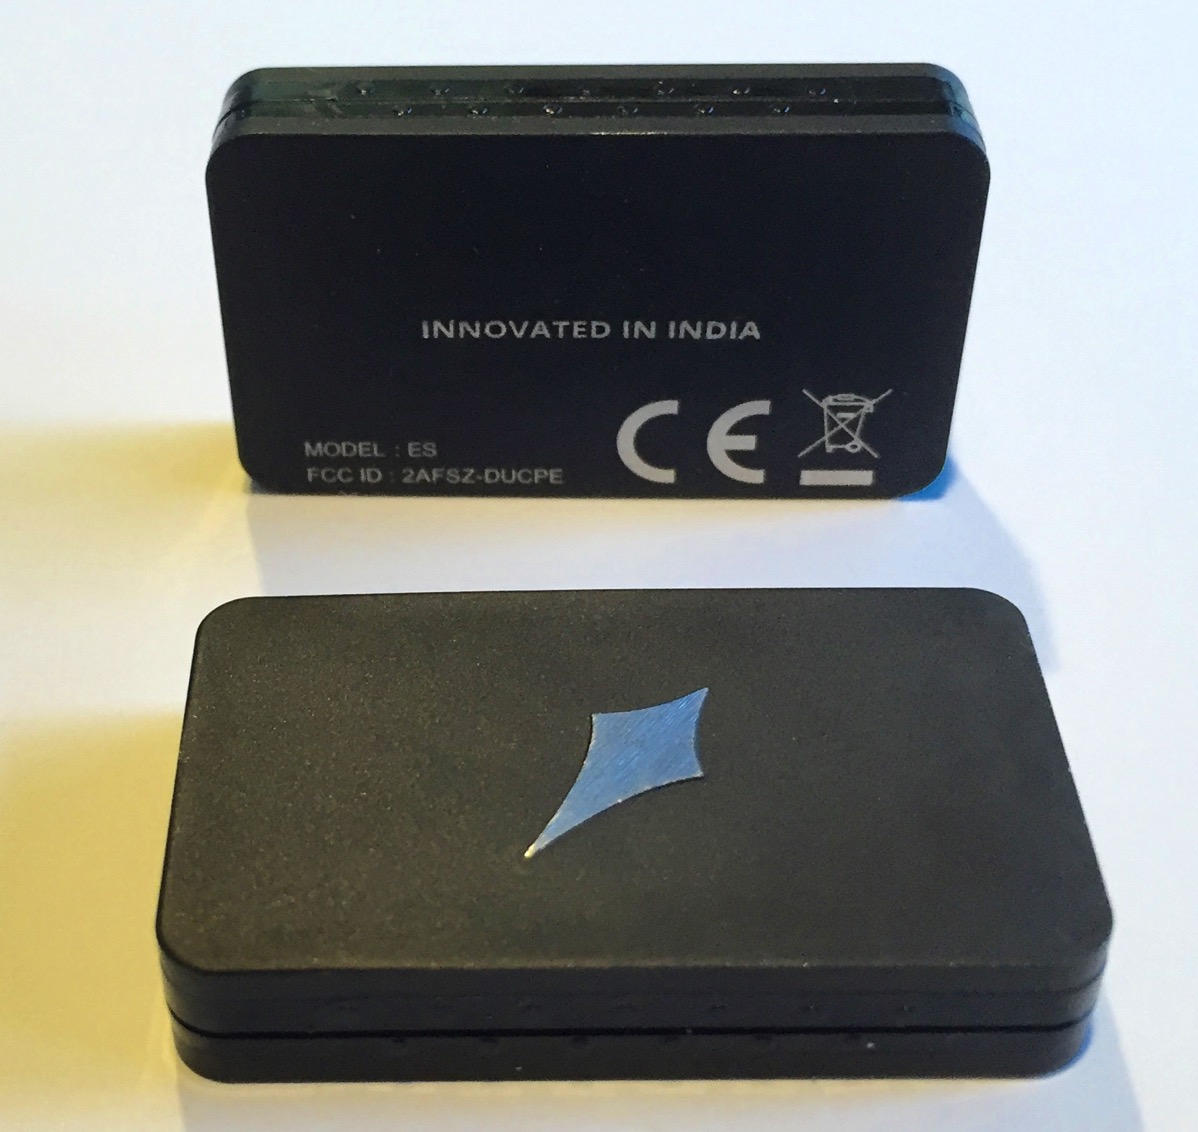
Figure 2, Two Lechal pods that are rectangular in shape and have one long edge with textured bumps for orientation to the device.
The pods themselves a small, rectangular boxes that are metal and surprisingly weighty considering their size. When I originally ordered from Lechal (July, 2015), there was the option of having “Essential Pods” or “Premium Pods”. I opted to purchase the premium version rather than putting the funds into the Lechal shoe option. I could not remember what the difference was between the Essential and Premium models so I returned to the Web site to investigate and am now only able to find the purchase option for the “Essential” model; I believe the components for the motion sensor were enhanced in the “Premium” version. On the surface they appear essentially the same, with the only obvious difference being that the Essential comes with brushed steel and the Premium a matte black finish; but now, back to the the pods themselves.
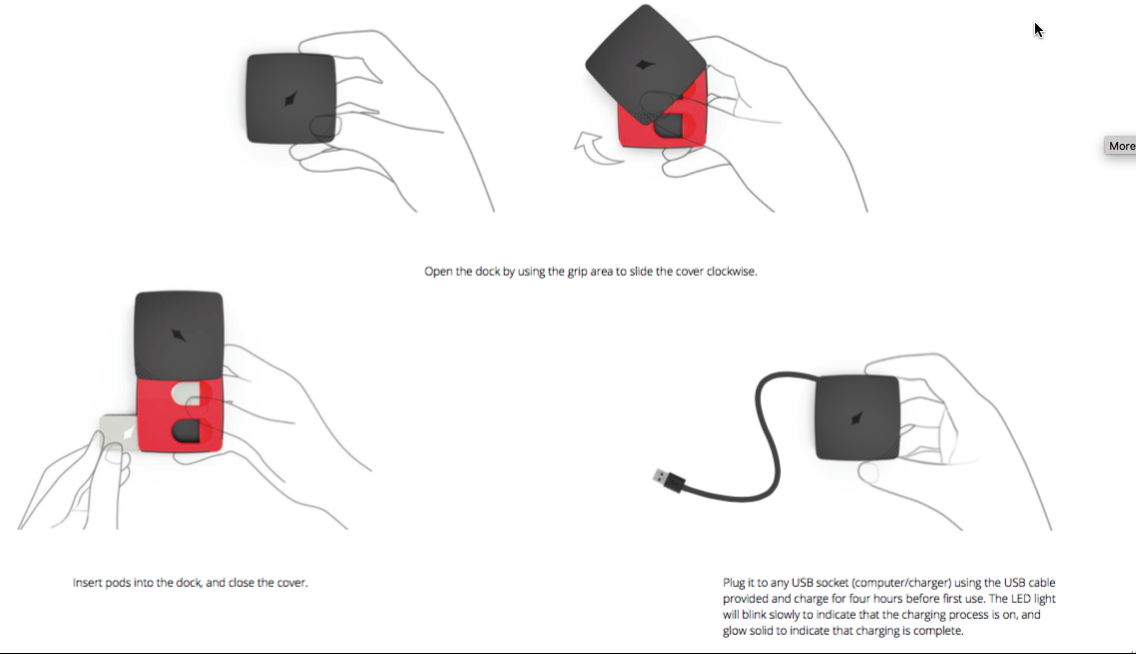
They have one edge that includes tactile markings in the form of bumps, to differentiate this edge from the other edges of the pod. The bumpy edge is where you would tap when you need to reset the pod, or wake it up so to speak when pairing initially with your smart phone. Before you begin pairing your pods you will want to have them fully charged by inserting them into the charger and plugging them into a USB power source. The full charge takes approximately two hours according to the documentation; there is an indicator light on the outside of the charger that will pulse while charging is occurring and will be continuously illuminated or steady when fully charged. I had bit of a struggle initially opening the charger but after several attempts, was able to open it by sliding on a bit of an angle from the textured area on one corner of the square charging dock (again, if all else fails, read the instructions…).
Figure 3, Section from Lechal instructions showing how to open the charging dock and insert the pods
Once the pods are fully charged, you will want to bring them in very, very close proximity to your smart phone so that they can communicate and find one another with bluetooth. Hopefully as soon as you open the Lechal app, it will begin looking for the pods and find them immediately. If you are not so lucky, there is still hope. You will want to have your smartphone powered on and unlocked with the settings page opened to the bluetooth settings section. Take one of the pods and begin tapping continuously on the bumpy edge with your finger tip until it vibrates. At this point you will hopefully see the unit show up on your bluetooth device list that is displayed on your smart phone, it will likely say Lechal-MS; select it on your phone to connect. There should be no pin required for the two pods to connect to your smart phone via bluetooth. Once they are connected, you will see a Left and Right option on the Lechal app screen that is represented by an L and an R in the top right corner. This will let you tap on the left or right button to give a pulse to the corresponding pod so that you can place it into the correct insole. The insoles have lines around the toe area to trim them to the appropriate size for the shoe they will be inserted into.

Figure 4, The Navigation home screen of the iOS app showing the “L” and “R” at the top right of the screen and options for Navigation, Fitness, Profile, and Settings pages at the bottom of the screen
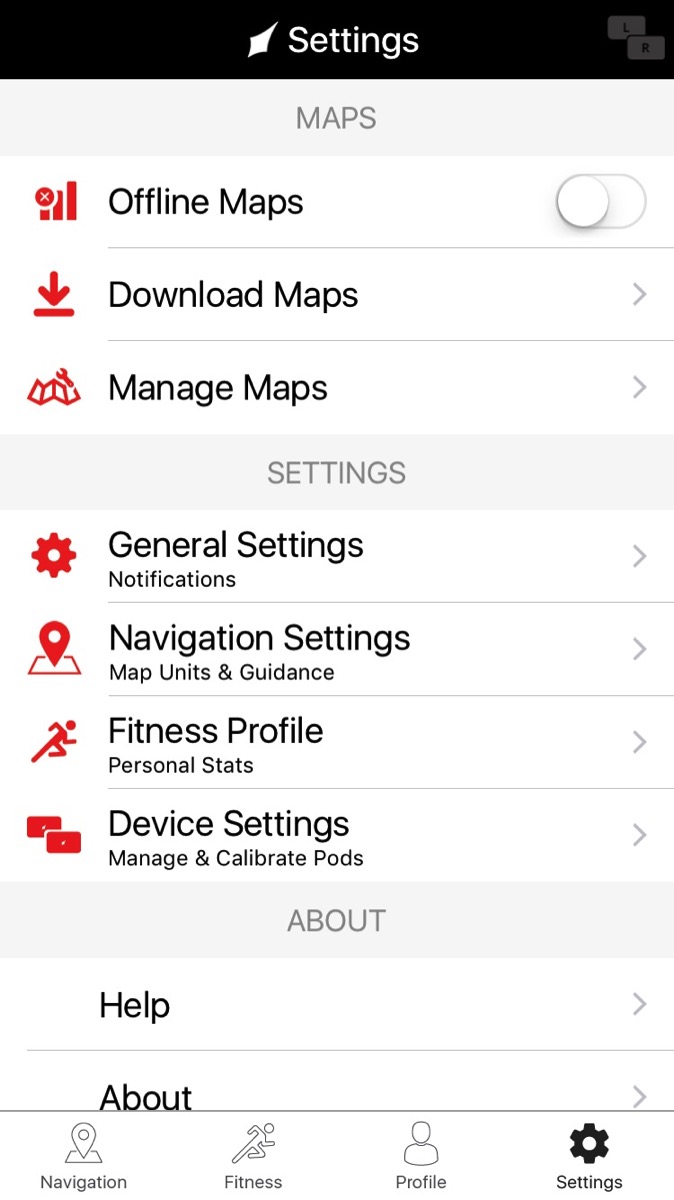
Figure 5, A screen shot of the Settings area of the app
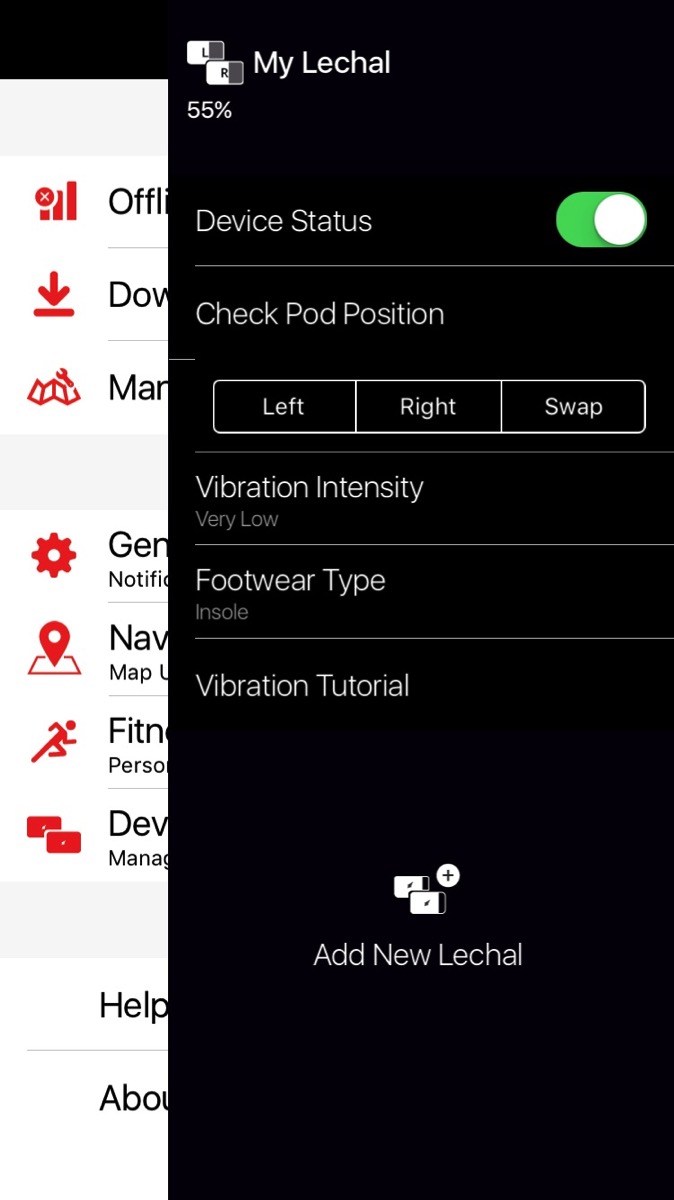
Figure 6, A screen shot of the Device Settings page with options to check the vibration of each pod and to launch a Vibration Tutorial
The Insole Option
Once you have the pods paired with your device and you have determined which is for the left and which is for the right, you can install them into the Lechal insoles. There is a rectangular cutout on the underside of the insoles where the pod is to be placed. The “Innovated in India” marker should be facing out toward you with the Lechal logo of the pod facing the inside of the insole. You can then insert the insoles into your shoes and begin to explore.
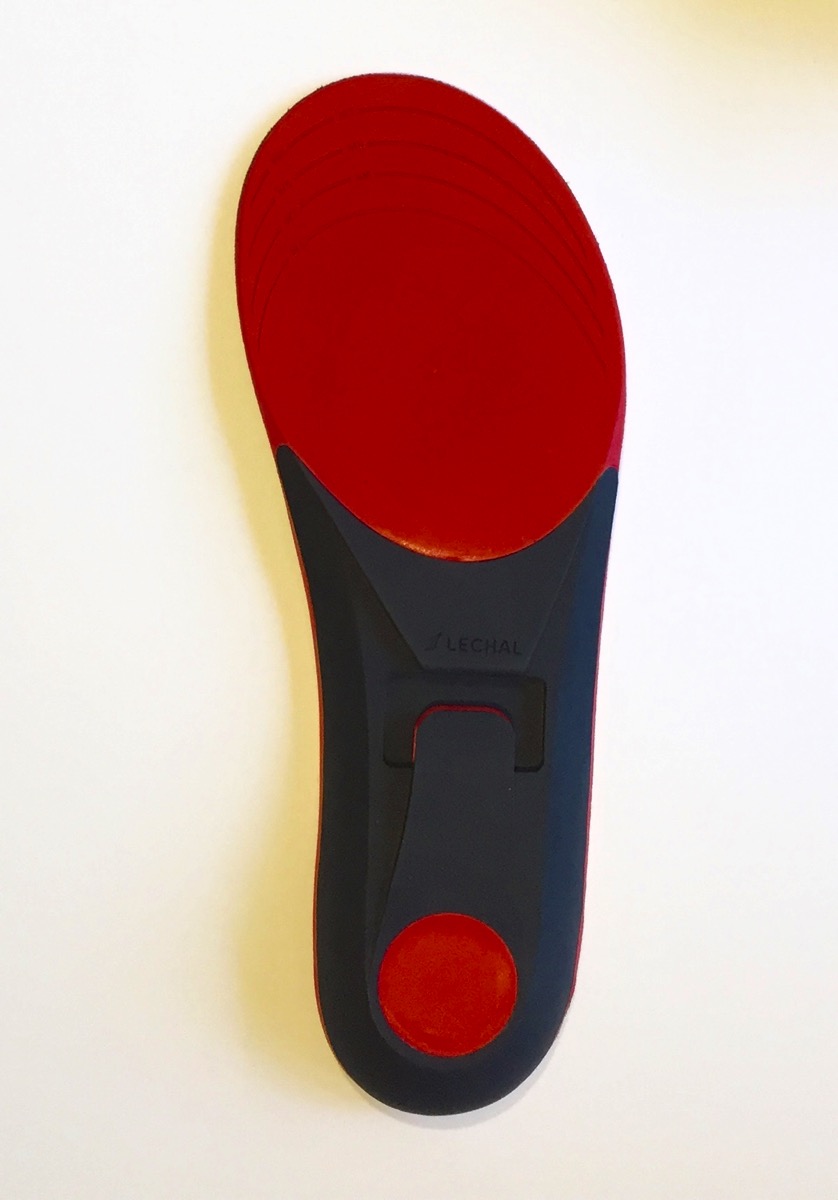
Figure 7, The underside of one insole with a rectangular cutout where the pod would be placed
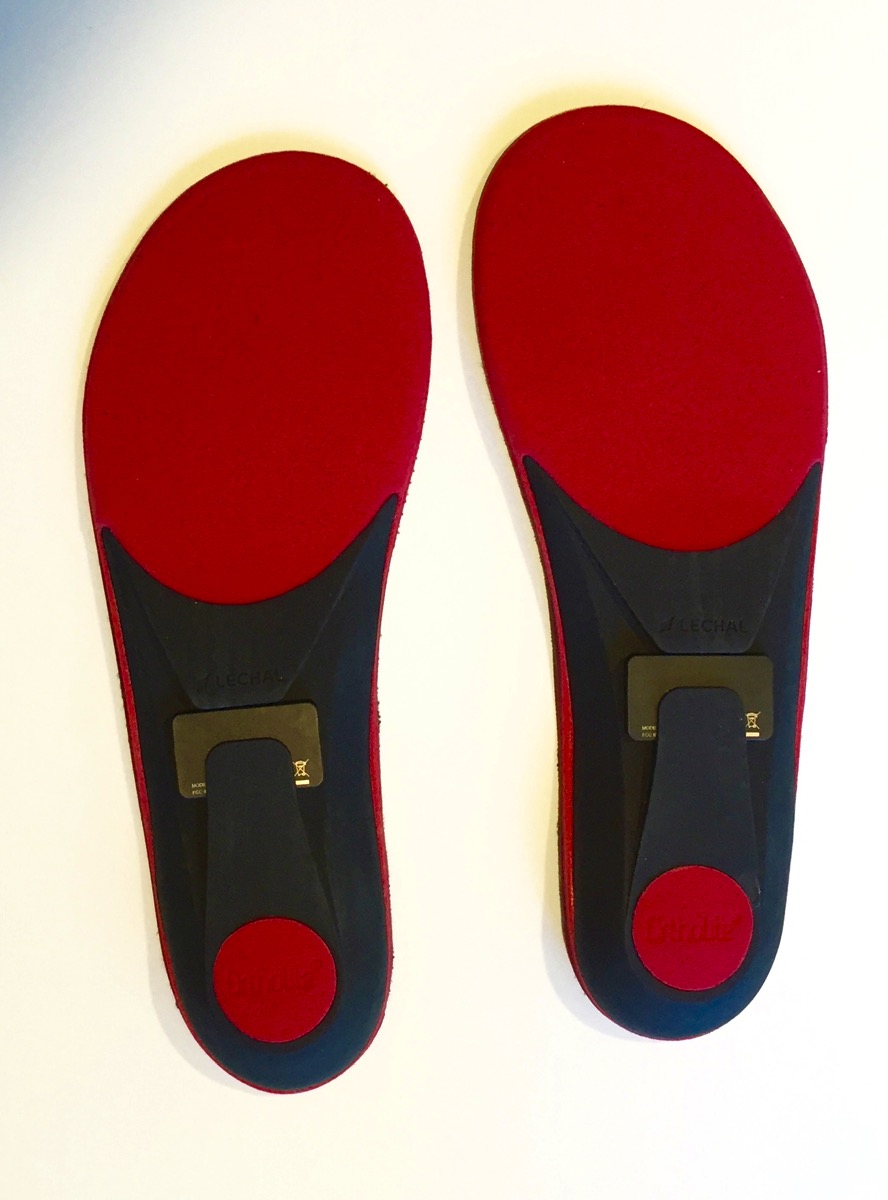
Figure 8, Insoles for the left and right shoe with the pods placed into the rectangular cutouts on the underside of the insole; a small flap keeps them in place where there are inserted into the cutout.
This is a good opportunity to launch the Vibration Tutorial from the Device Settings option of the main Settings page. Each type of turn has a different haptic signature that you will want to learn so that you can correctly interpret the instruction from the device without having to read the display visually or listen with VoiceOver.
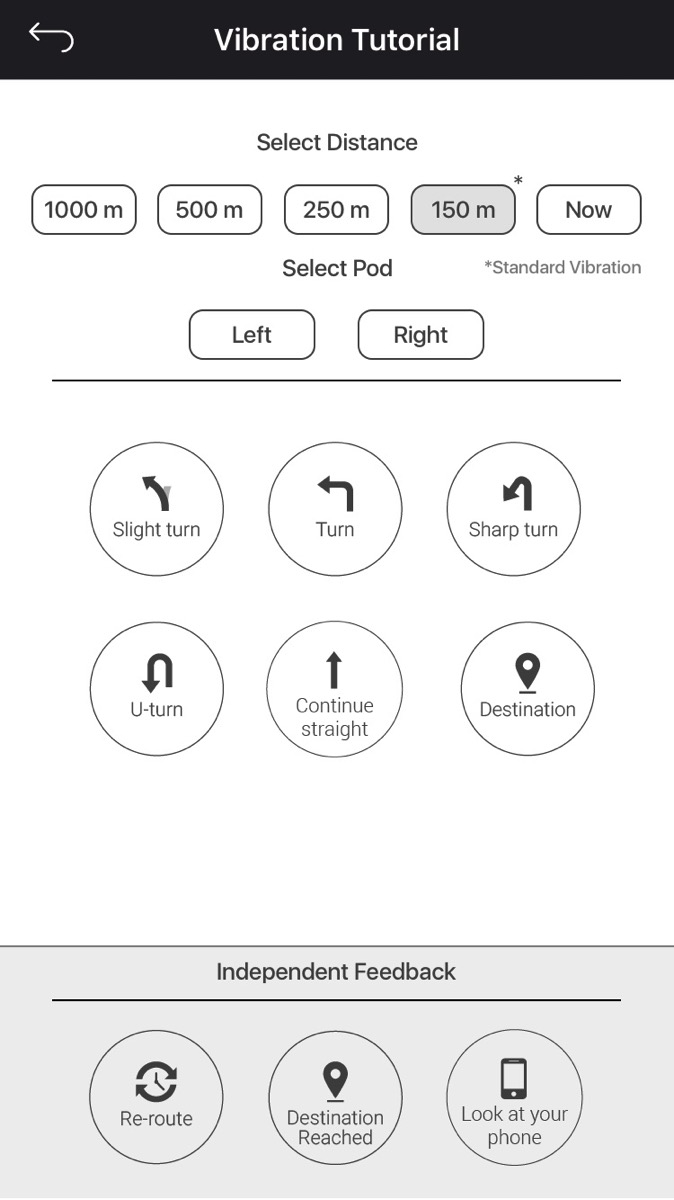
Figure 9, Screen shot of the Vibration Tutorial screen with options for various turns, continuing straight, and destination
Working with the App
The app opens on the Navigation page that includes a search field at the top for entering an address or destination name, then shows your current location with a share icon to send your present location, and has a section for frequent travel options (i.e. Home, Work, and Favorites), and a section with categories that will show what is nearby within each category. The menu at the bottom of the screen provides links for the app’s four main areas or screens; Navigation, Fitness, Profile, and Settings. There are lots of different areas for customization, such as opting for Imperial Units of measurement or Metric, etc.
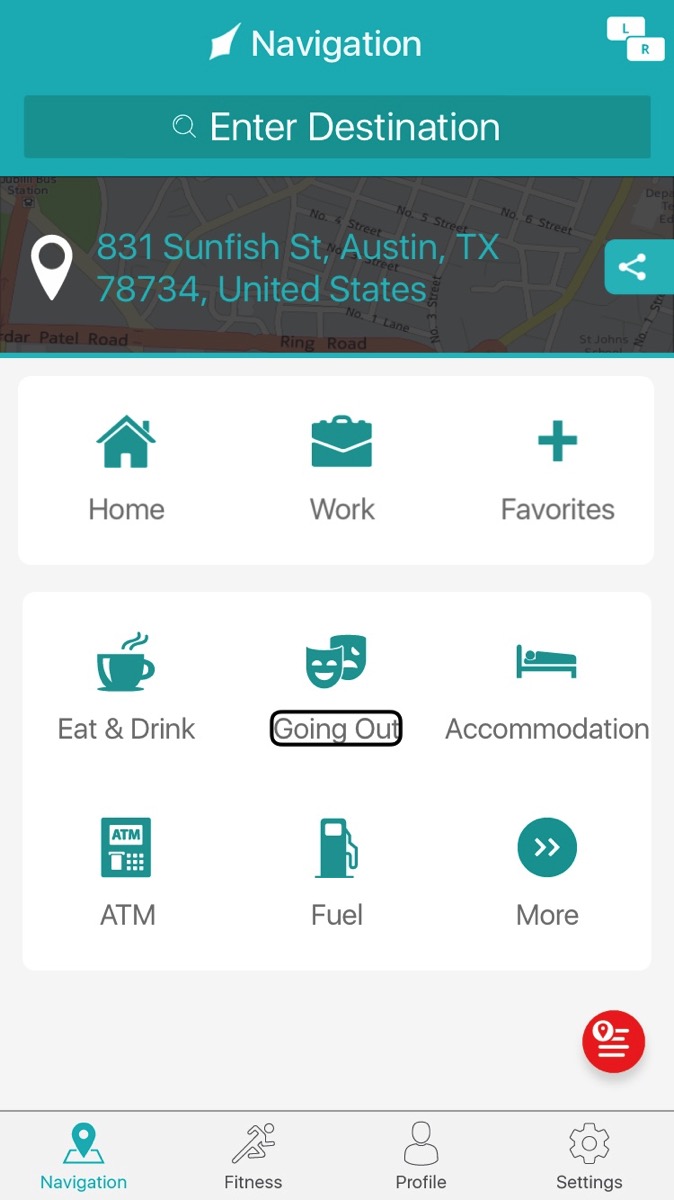
Figure 8, A screen shot of the Navigation page
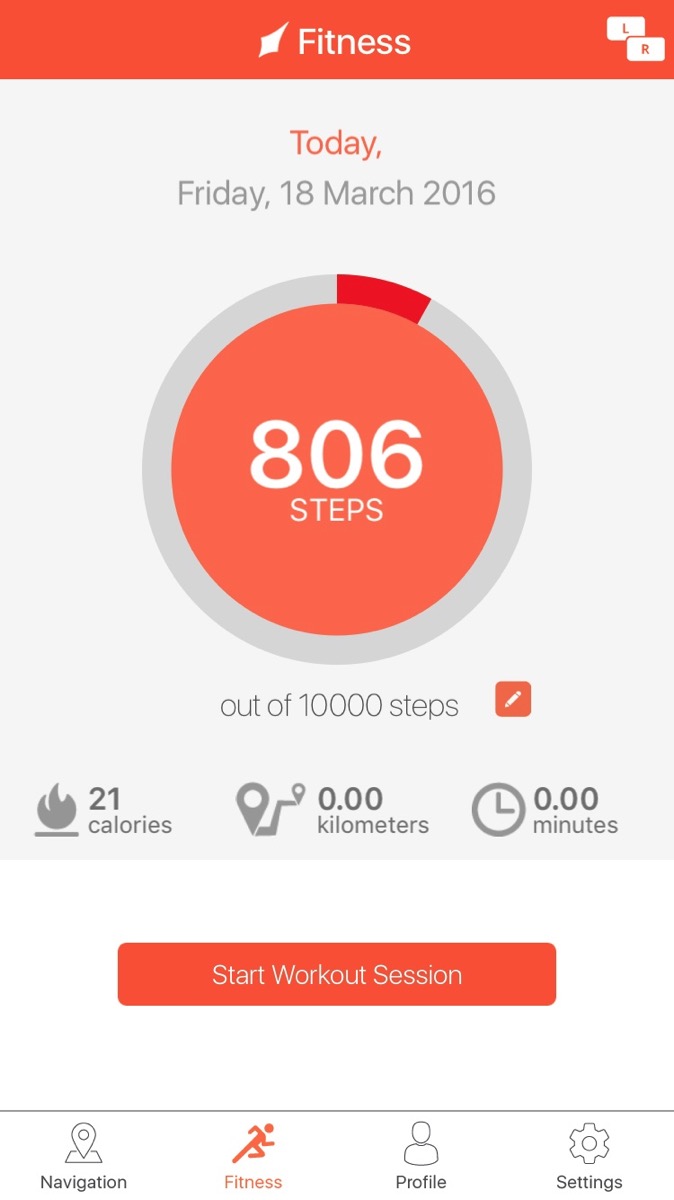
Figure 9, A screen shot of the Fitness page that includes number of steps taken, calories burned, as well as distance traveled and time in travel
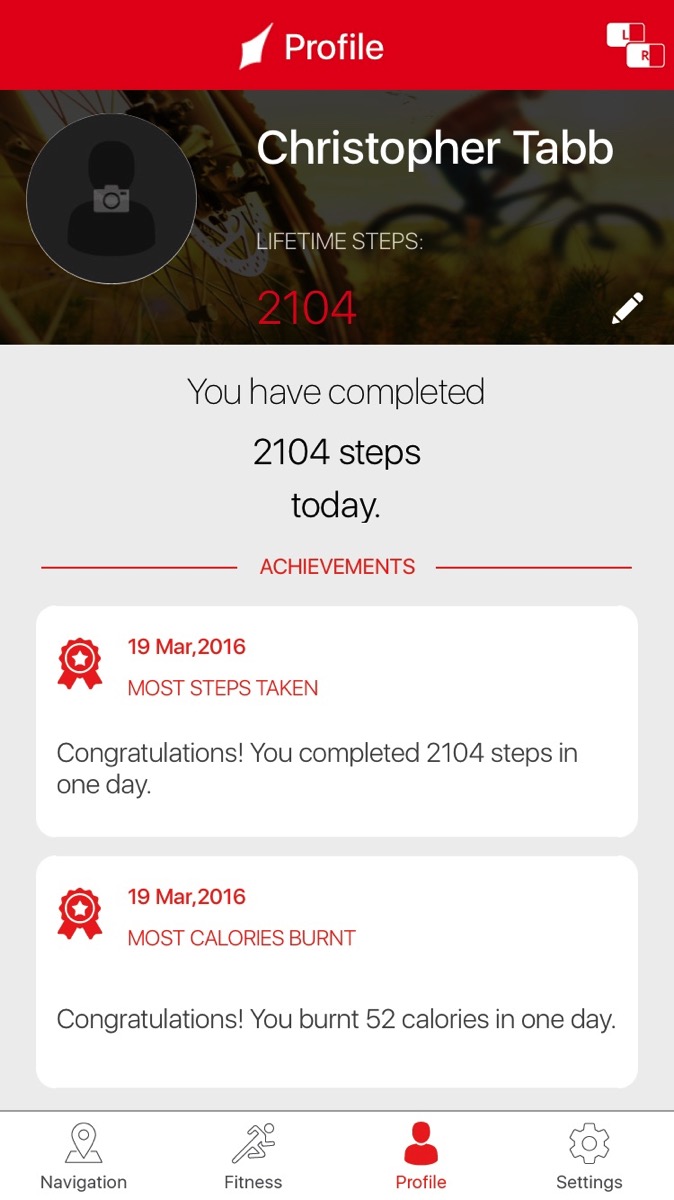
Figure 10, A screen shot of the Profile page showing the user’s name, their total steps for the day, and fitness achievements

Figure 11, A screen shot of the Settings page with options for managing and downloading maps, general settings, navigation settings, fitness profile, device settings, and an About/Help section
Navigating with App and Pods
The app and haptic pods work together quite well while traveling a route. There seems to still be some areas to be developed in terms of VoiceOver, but the app is still in beta and there will likely be some updates along the way to bring the various aspects of the app further along in terms of refinement. You have the option of choosing from locations nearby or entering an address. Once you have chosen your destination, you will be given a screen to verify the pod positions to ensure that they are oriented correctly, and if they are not you have the ability to “swap” them in the app so that they will be receiving the correct message from your smart phone, to then relay the correct haptic message to you through your feet. Once your entered destination is found, you will be presented with an overview route screen and options for pedestrian mode, vehicle mode, or bicycle mode.
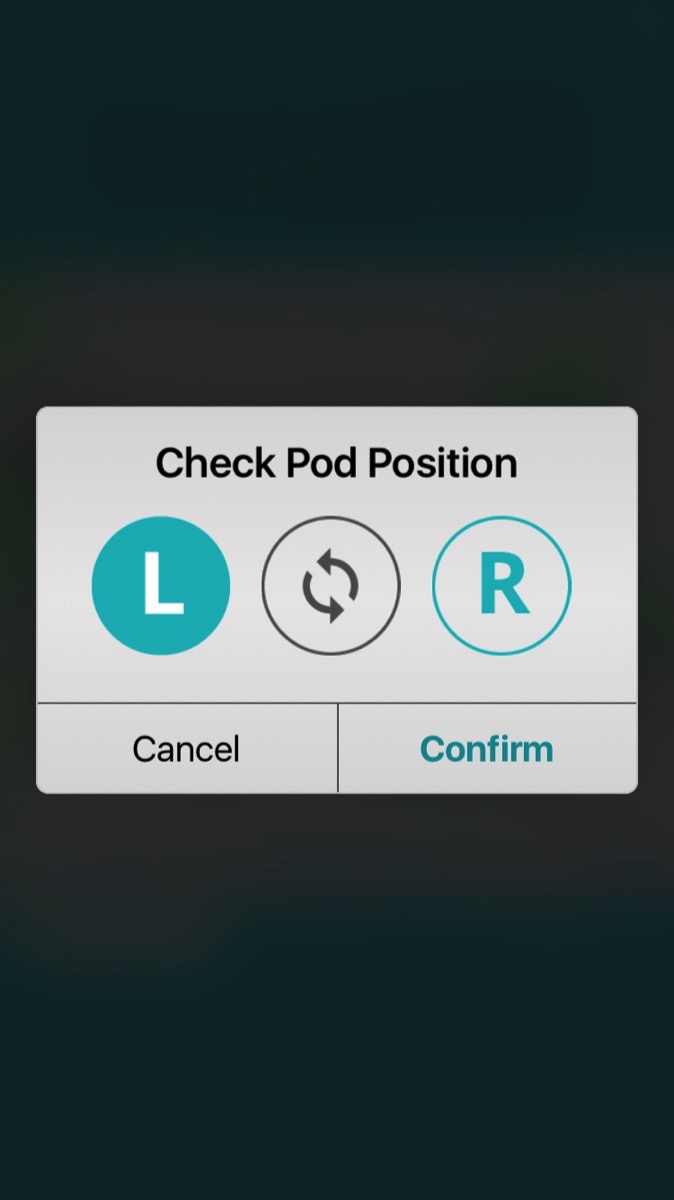
Figure 12, Check Pod Position screen with buttons for testing “L” and “R” with a swap button between them.
Once your entered destination is found, you will be presented with an overview route screen and options for pedestrian mode, vehicle mode, or bicycle mode. This is a similar presentation to many mapping apps, such as Google Maps or Apple Maps. Once you choose Navigate from the route information displayed, you will begin seeing, or hearing if using VoiceOver, your first instruction on the route. You can also choose to view the steps sequentially on a new screen. Several of the screen images for the route are shown here.
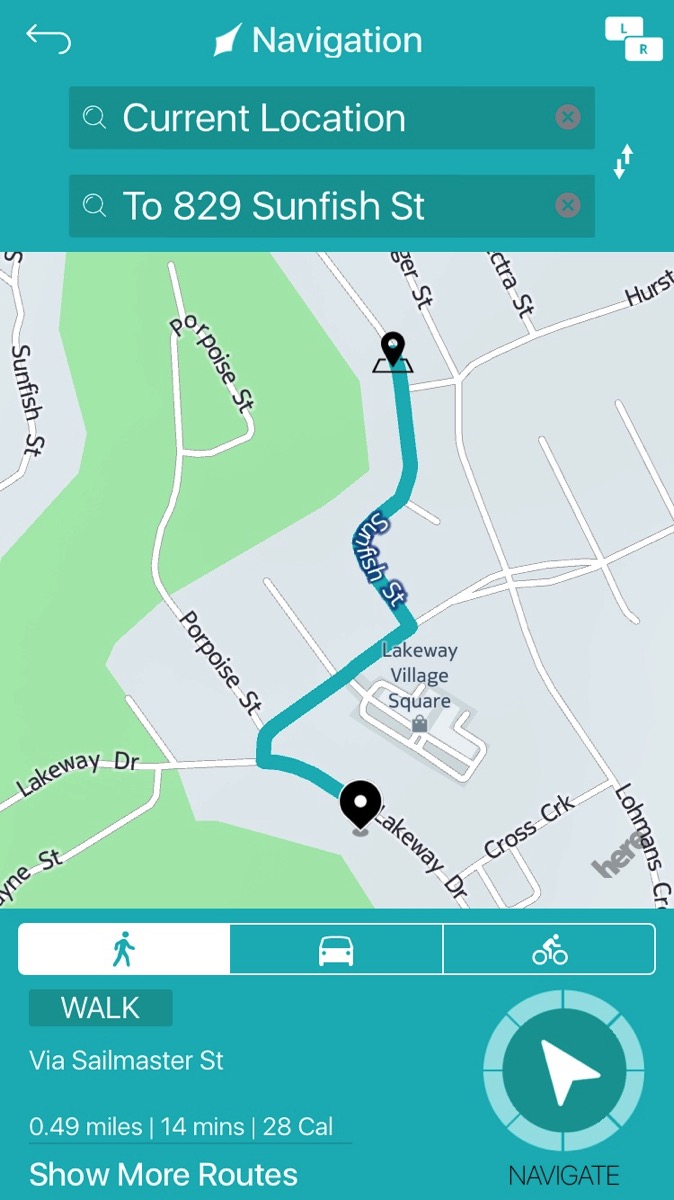
Figure 13, Overview of route with options for travel mode and Navigate button
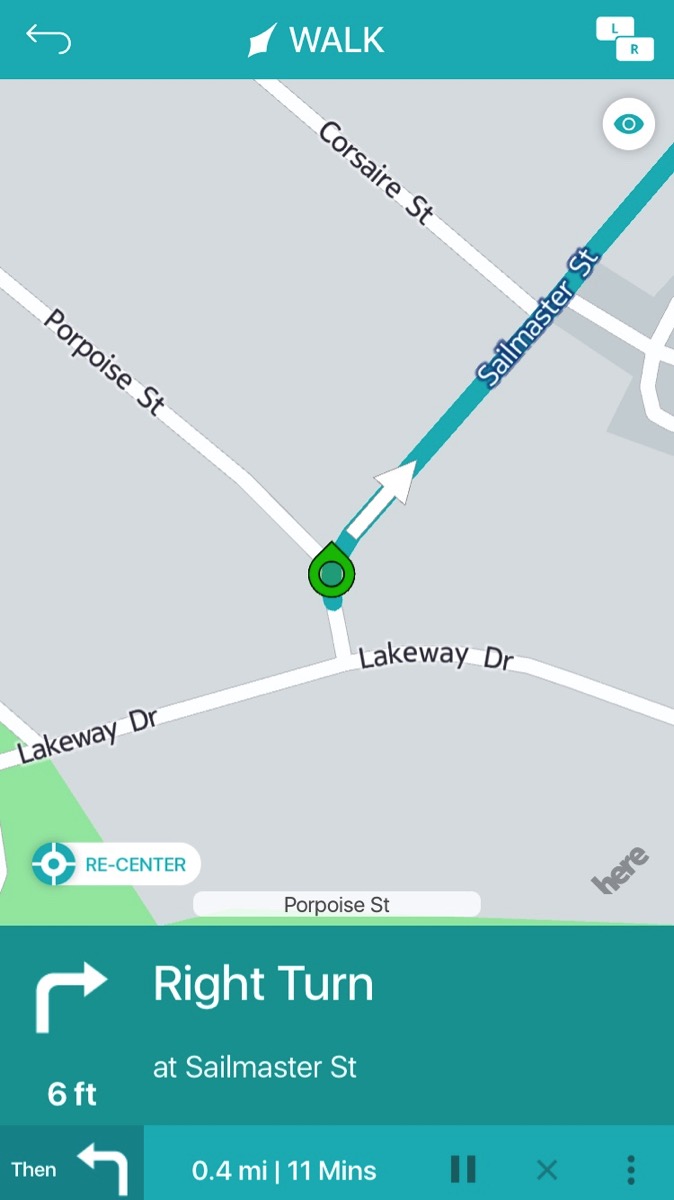
Figure 14, Single instruction step page with instructions to turn right in specified distance and summary of next step in route
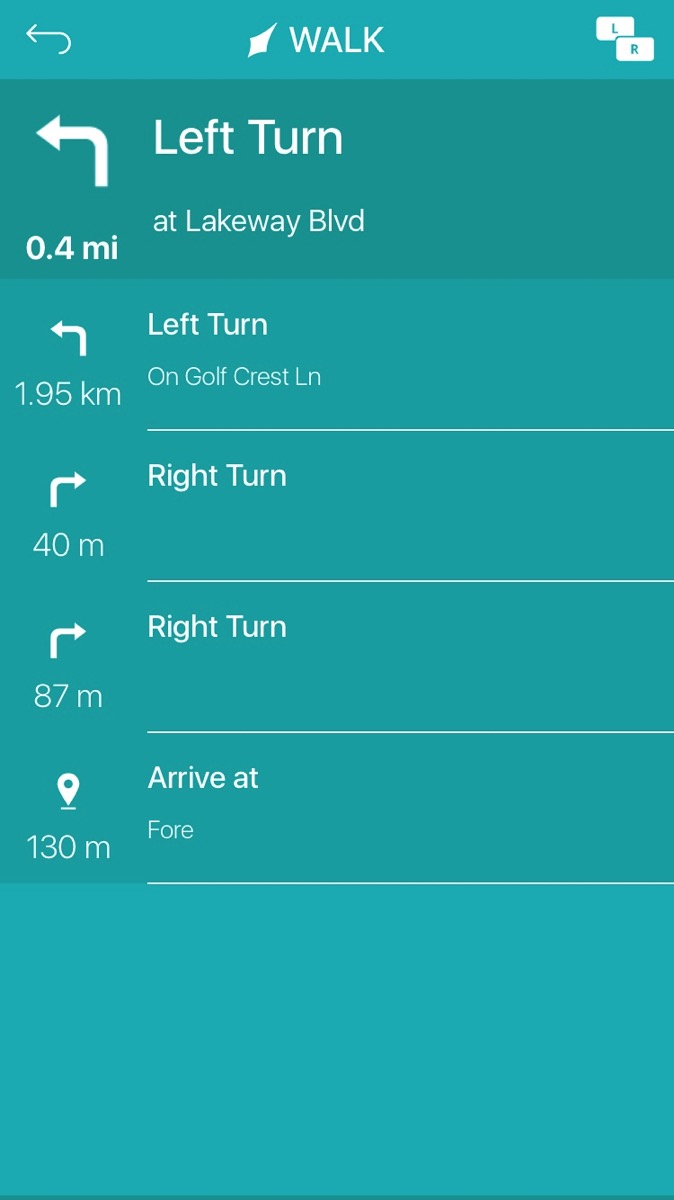
Figure 15, Step by step instructions in sequential order
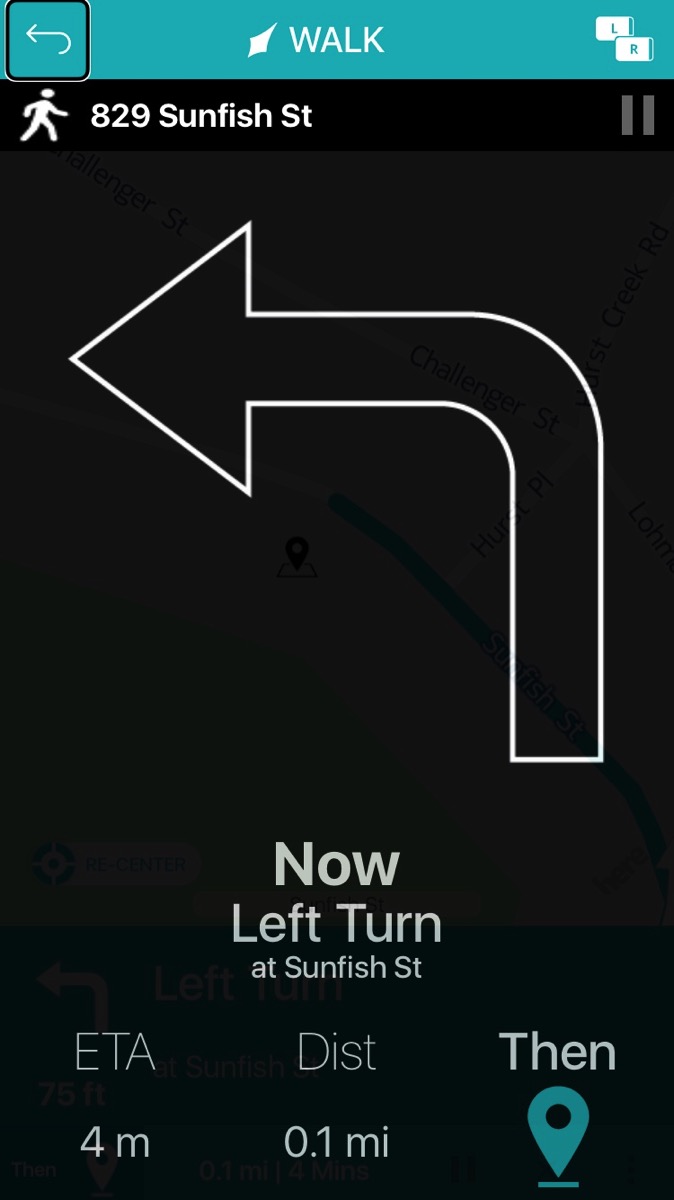
Figure 16, Bold presentation of turn direction and distance to destination
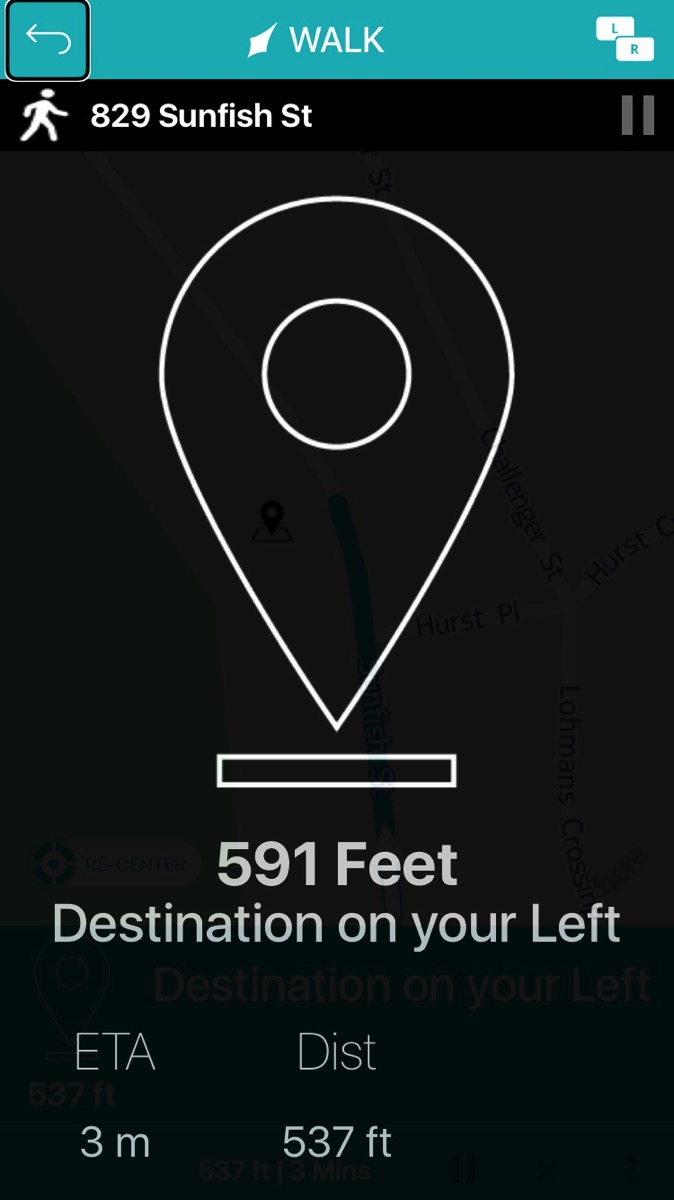
Figure 17, Bold presentation of destination with distance in feet remaining in route
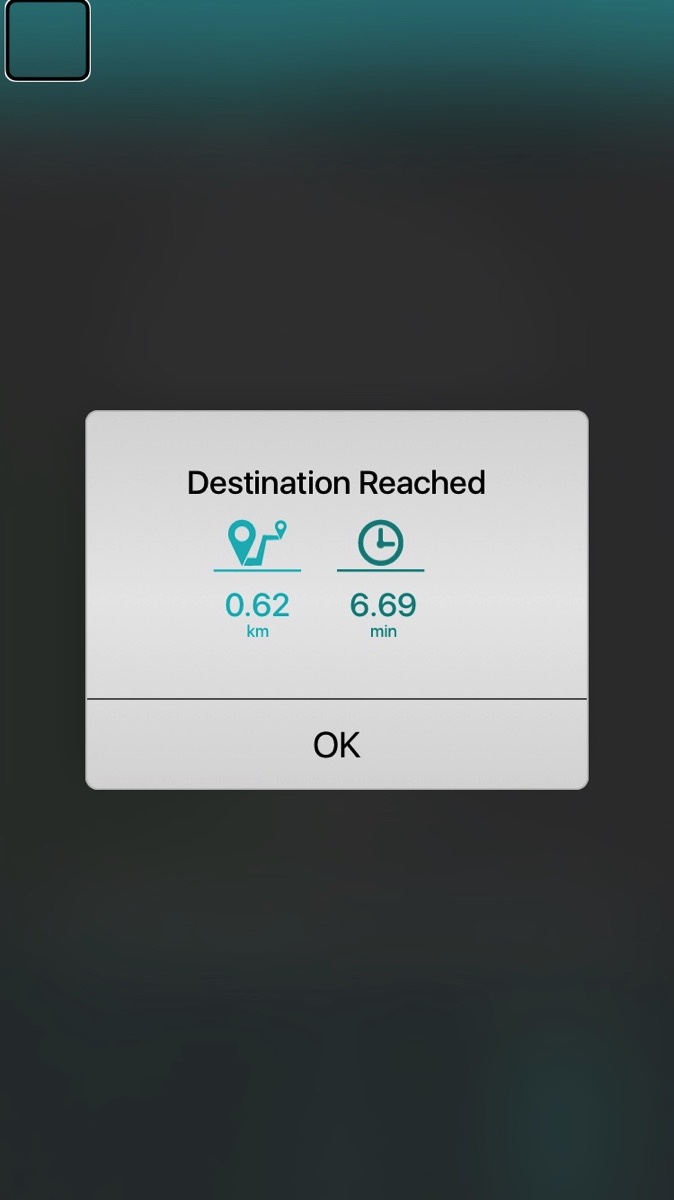
Figure 18, Destination reached screen with time and distance displayed.
Overall Impressions
I found the system to be very usable and very useful; I was also pleasantly surprised with the insoles, finding them to be quite comfortable. The app will still take some learning on my part but I believe it will become more intuitive with each of its update iterations. It is important to remember that this app was not necessarily designed exclusively for travelers who are blind or visually impaired, it will also be targeted toward those interested in fitness and general health activities, etc. That being said, there is already a plethora of reasons to encourage exploration with this product. Like any GPS device or app, it will not take you exactly to the precise spot you want to be at; general orientation and mobility skills still prevail. It will however help guide you without needing to have your phone your in hand or your ears occluded; and if there is a dual sensory loss, haptics is an emerging communication form for electronic devices that is easily accessible to those travelers who are deafblind. I would love to see the developers connect with the developers of BlindSquare to see what their combined ingenuity to produce!
Thanks for taking the time to review this post and I hope you have the opportunity to give Lechal a spin : )
Chris Tabb
chris@sensorytravel.com
http://sensorytravel.com
tabbc@tsbvi.edu
https://www.tsbvi.edu/tsbvi-blog/blogger/tabbc

